My Final model was formed by refining my processes as to achieve a neatly formed orb.
I pushed a piece of hose into the balloon, breathed air into it and aligned it at a right angle to the balloons top knot, then semi tied the balloon.
Next I Prepared the plaster, mixing it into a thick liquid, this was then poured into an old plastic bottle.
I untied the balloon knot, let out a small amount of air so that the air present was the same amount as I wanted to be replaced by the plaster.
I stretched the balloon opening over the bottle mouth; I turned the bottle upside down with the balloon below it so the plaster would sink below the air and into the balloon and the air up into the bottle.
With the desired amount of plaster in the balloon I inverted the bottle the right way up and removed the balloon from the bottle.
I rinsed the balloon knot and then carefully blew a breath of air into the balloon so that it would form hollow. But not so much that the plaster would leak into the hose.
I tied the knot and then set to turning the balloon over every thirty seconds or so, to let the plaster distribute evenly around the balloons walls, yet enough time to allow some clumping on different sides.
Once dry I carefully removed the balloon with a pair of scissors, shattering some of the very fragile parts of the plaster shell, but exposing the inside of the shell, the cracks, the uneven surfaces, and the strong form of the hose through the center.


 |
| The fragile shell and its shattered fragments contrast against the strong form of the hose. |


 |
| The different densities in the plaster allows for more light to penetrate through the shell in some places. |
 |
| Again, the differing density of the plaster allows for interesting illumination. Also the orientation of my images can differ and still appear acceptable as the round shape is fairly ambiguous to direction. |


 |
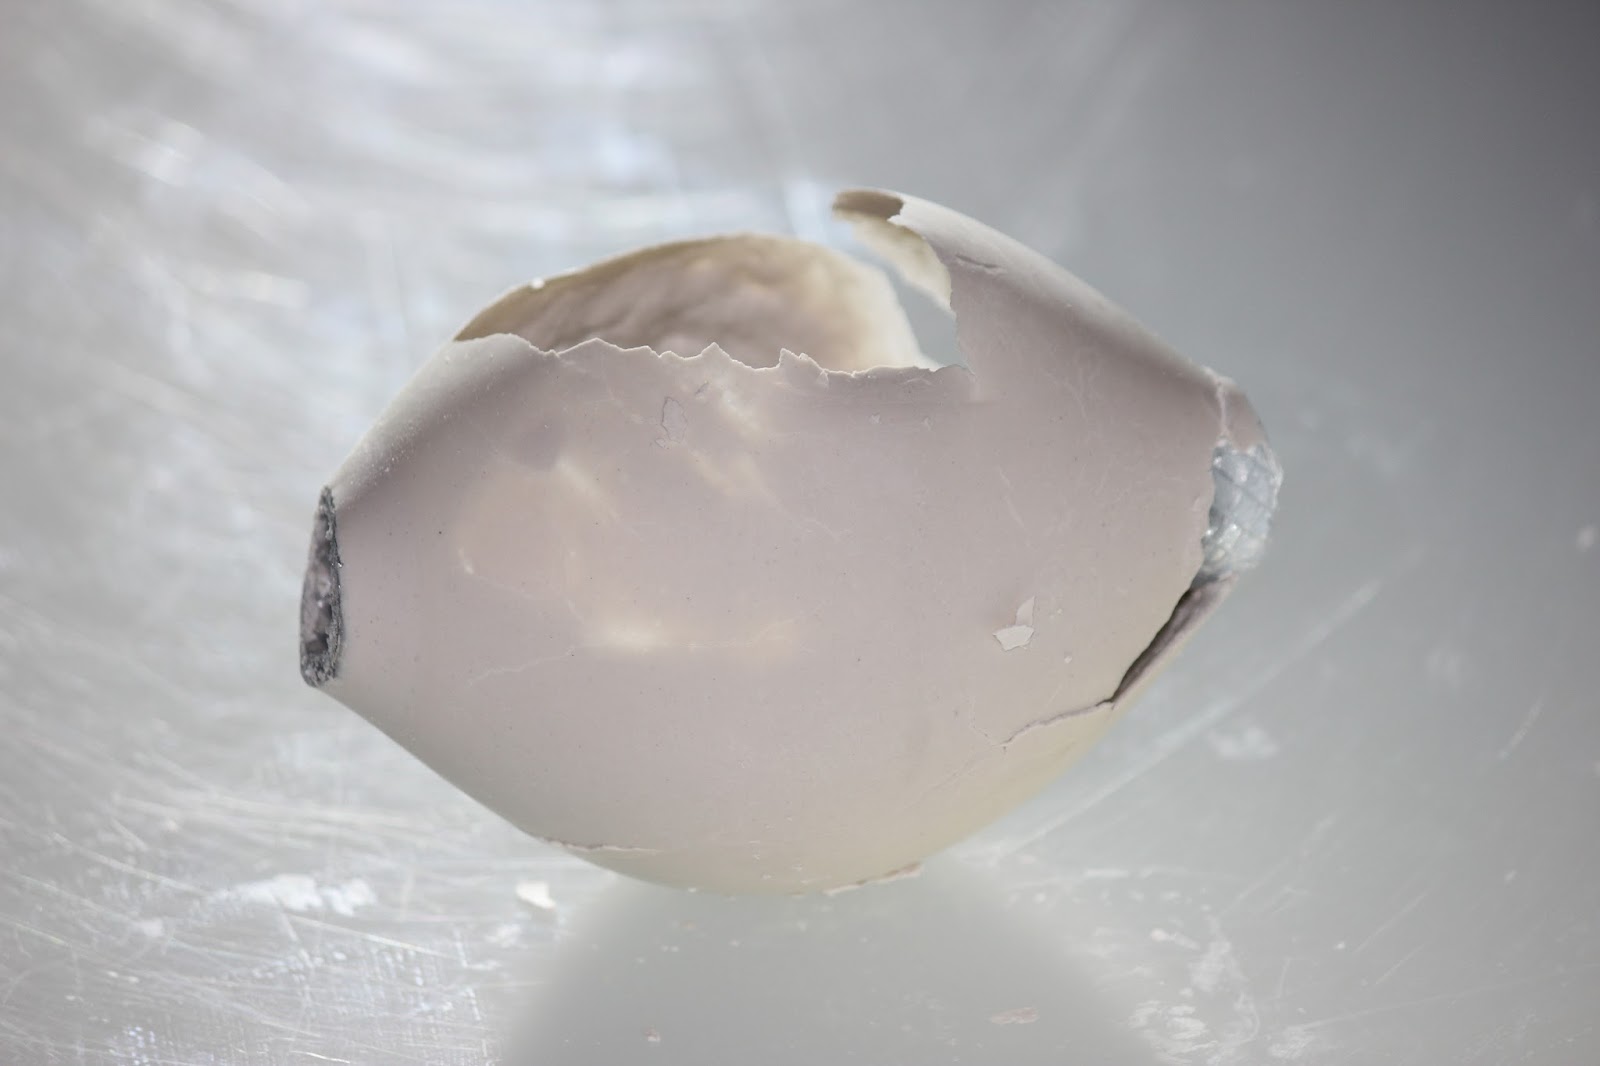
| The fragility of the plaster shell is like that of a broken egg. |


 |
| Seen through the large break in the shell is a smaller break. An unseen crack that poses a threat to the whole structures integrity. |


 |
| Against the white of the plaster the dark of the voids, the inside of the shell, and the hose, are a stark colour contrast. |


 |
| My final chosen image presents the whole object and shows the presence of both materials working together to create the unique structure in a symbiotic relationship of shape and strength. |