Wednesday, 21 October 2015

More plastic movement experiments.


These are merely the pieces of wood that are cut out when using a circular drill bit, however, when melting plastic it is a good idea to have something pushing down into the mould, so reusing these is a brilliant idea.


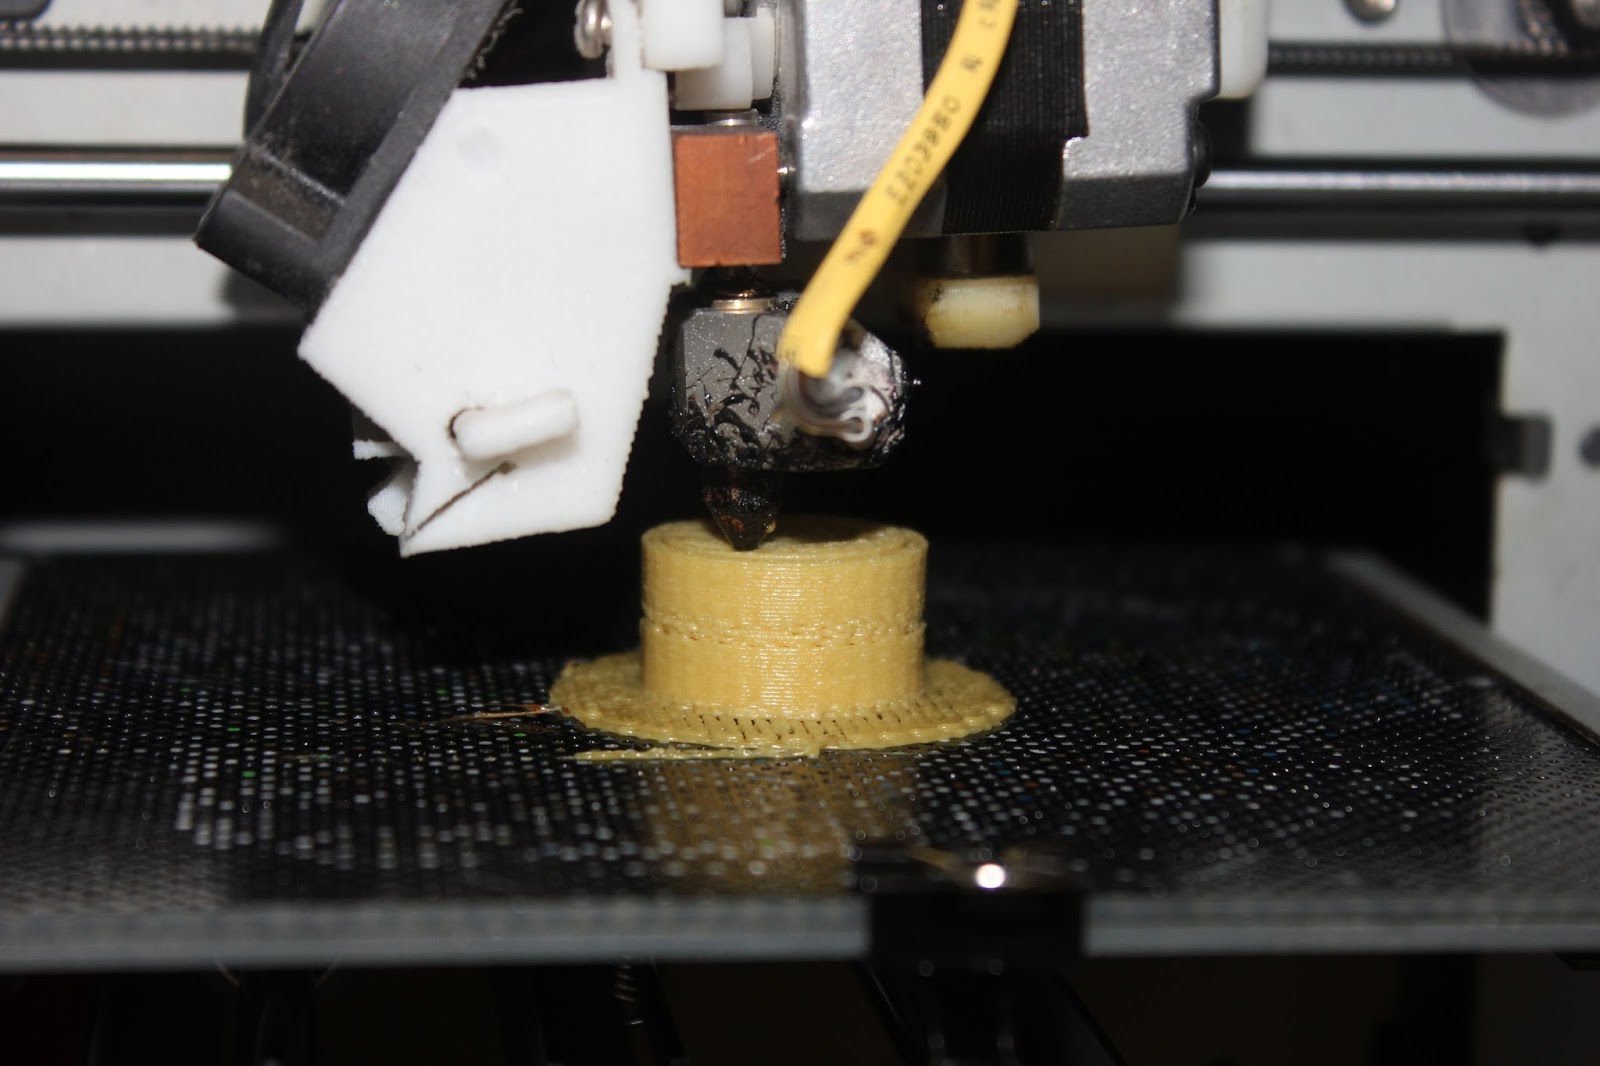
And here is the mould itself. I used this one a couple of times, if the plastic is done perfectly, melted well and formed into a full cylinder but not overcooked and burnt enough to ruin the plastic, it should pop out easily with a few taps of a hammer. perfect.


This mock-up tried to make physical one of my ideas I had sketched up, using one motor to spin several dowels. The frame worked well, using a few pieces of duct tape held it all together, but rubber bands didnt want to work for me and I didn't know what else would.

This here is just an off cut from when I truncated another cylinder. It could be used again to form another shape.


When you have melted a batch of plastic but all of your main moulds are full, instead of letting it set to the inside of a pot you should use it up by setting it in another mould. Here I have made a couple of patties by setting the leftovers in a large flat mould.


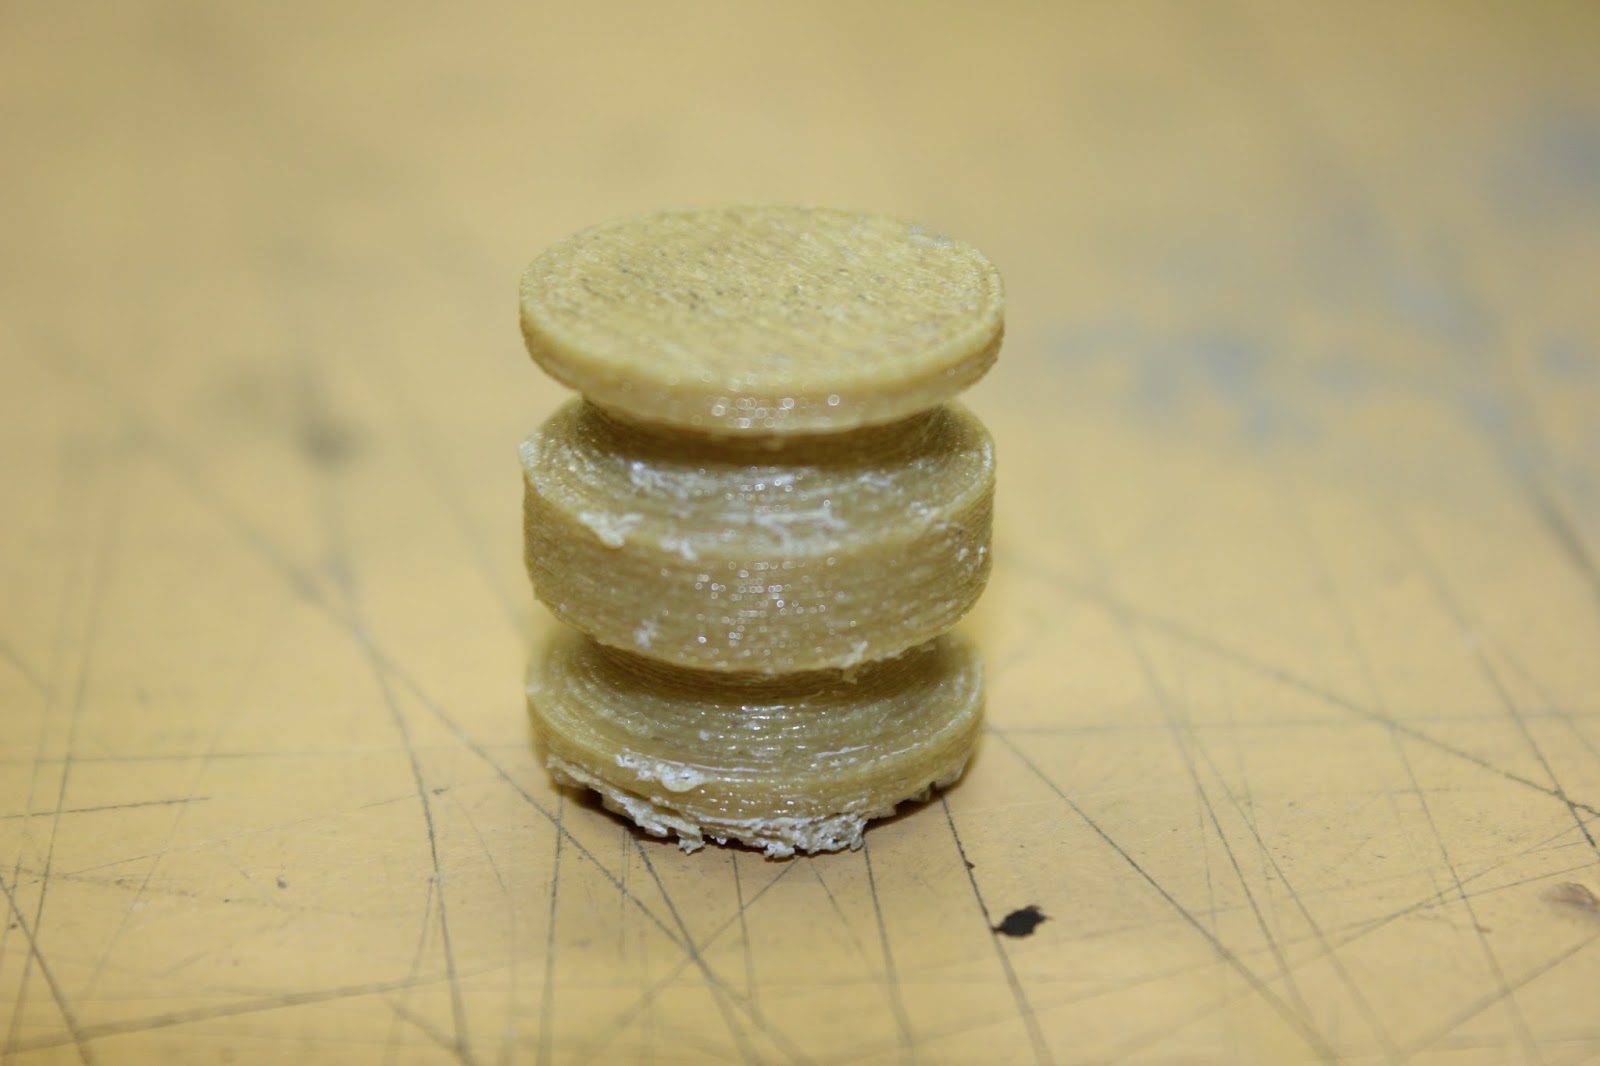
This piece is small, but has some nice features like the corrugations of the wood that was used to press down upon it. The orange colour is from a bottle cap and makes for a neat marbled colour.

Tuesday, 20 October 2015

Concept Sketches

The following is a collection of my sketches for ideas of moving parts involving a simple motor.
Above: the motor will share the rotation with some dowels via rubber bands or similar. Attached is a band with different length metal pieces on it. Each piece will make a different noise as it hits something as it goes around,

One motor is powering the rotation of several dowels with fans or windmill like structures attached  to them.

The motor turns a large truncated cylinder which in turn makes the wires rise and fall through the top piece.


One motor makes four dowels spin in different places in the shape of a cross.
Similar to the previous one; the motor seperates its energy into four parts of a cross. This time, with pencils or pens. Each point of the cross will have a point of the pencil on the paper below. as it spins it will create different textures.


A rack of different dowels that will spin and create sound as the metal strips on their ends come into contact with something, maybe one another.

Thursday, 15 October 2015

Explore 3D Printing

Below is my first ever attempt at a 3D print. a pretty exciting feat, even if it is just the raft of a failed object.


As I was new to 3D printing during this course, I had to learn both the digital modeling software as well as the printing machines. The software I was using was actually very easy. I used 123D to create a shape and another program to send it to the printer.

All very exciting.

I had a couple more attempts but all I came up with were failures. I couldn't even make a raft that stuck to the printer.
However, they were my failures; and I'll love them,


I decided to stop what I was doing and print something smaller. The brief only said I needed to have a part of my object printed, it didn't have to be the center of attention. I figured out which printers were likely to successfully print something and began to work on a couple of smaller objects.

Success.


Below is my first successful print. I had an idea that I could print one long cylindrical piece that had groovy rings cut into it and then judging on what I required I could just cut them off at the right size accordingly (I still think very much with hand tools) But it is probably just quicker to print several of the same thing when you need it.
I might get my head around not having all of the stuff readily accessible, rather, using the printer to make what you want a couple of hours before you need it.

So for a first print its kinda cute, I even butchered it a little bit trying to get the protective framework off. There, it has personality.

Tuesday, 13 October 2015

Plastic mockup

For my 21st birthday a year ago I was gifted a bunch of screens and a stand for them; recently I've become near addicted to the Ryobi power tool range, I purchased an amazing white light; therefore I pretty much have my own photography booth ready to set up when I need it.


I continued with my melting of recycled plastic, this time hollowing out a fence post as a circular mould. this was rather laborious with a handheld drill. 
I smacked it out with a hammer and sanded it down a bit. It looked mostly pretty good.


With a second less perfect piece I was able to saw off the excess on an angle so that I had a smooth truncated cylinder. (albeit with a few air bubble holes in it).
This was the start of my idea for a final form that had moving parts involved.
I want to hollow out the main plastic cylinder enough to house the electrical components, then I want to build a wire frame to hold a 3D printed piece above. In between a truncated cylinder will spin around. On top of this  will be numerous wires that will bob up and down in a controlled manner with the spinning.


Seen here, is the two plastic pieces, connected by the motor which is hiding in a hollow.

Saturday, 3 October 2015

First motor Test rig.

When we were first given our electrical components I immediately thought I could easily stick something on the end of the motor and have it spin around but that wouldn't be very interesting.

Instead I thought of dividing the power of one spinning motor into several spinning pieces.
I quickly made a piece of plastic which I could cage the other pieces in. The plastic was far from perfect as it had bubbled throughout the piece. The result was still of interest as I could frame the moving components in a darker light of ruin or corruption.


I quickly thought that I could spin a couple of dowels at the same time, and then eventually have many dowels spinning at once. Start small and dream big.


I had varied results with this first test. I found if I held the dowels in the right place they sometimes worked. Creating something that held the pieces in place consistently would result in a more impressive model.

At this stage I could continue in this direction or think of other ways I could turn the kinetic energy of the motor into a focussed movement or sound or process.